So i've been getting a fair amount of requests for a DIY Elbow Patch tutorial, so here we go! It's fairly simple, and can add a little spice to any sweater or cardigan!
Materials:
Suede: Can be bought at any fabric store. I actually found some fabulous colored suede skirts at a thrift shop, so i'll be using that fabric since it's a lot more cost efficient!
Thread: make sure it matches your fabric farely well, doesn't have to be exact!
Pins & Sheers: You'll need around 7 pins per elbow, and some sheers to cut your fabric!
Paper: Regular lined paper or printing paper will do, just to trace the shape of the patches.
Step One: Trace your elbow patches. I have a cardigan with elbow patches so I just traced that sweater and cut out the oval shape. If you dont have one, I found a great printout to use! http://www.marthastewart.com/266228/suede-elbow-patch
Step Two: Pin your paper cutouts to your suede fabric and cut out the ovals
Step Three: Using piece of tape, put on your sweater and mark the best place for your elbow patches. Make sure when you bend your elbow, it will be fully covered by the suede.
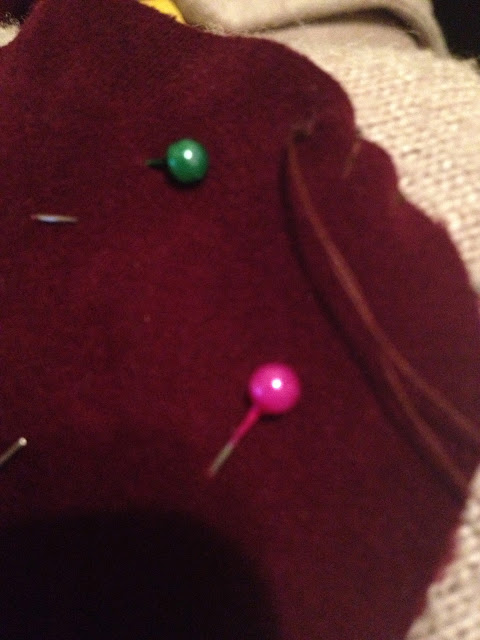
Step Four: Pin your elbow patches onto the sweater and try it on to make sure it's in the right place!
Step Five: Adjust if necessary, make sure both elbows are even, and begin to sew! I found that the overcast stitch looks best, and is super simple too!
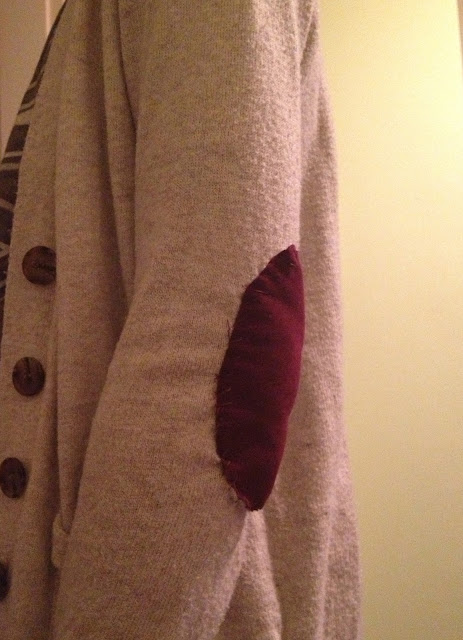
And Viola! You have a new sweater :) (minus the wrinkley-ness of mine haha). I have some tighting to do in regards to smooth edges but you guys get the gist! Comment with any questions!
xo
Source: Martha Stewart


.JPG)


0 comments:
Post a Comment