Showing posts with label Do It Yourself. Show all posts

Saturday, October 20, 2012


So i've been getting a fair amount of requests for a DIY Elbow Patch tutorial, so here we go! It's fairly simple, and can add a little spice to any sweater or cardigan! 


Materials:
Suede: Can be bought at any fabric store. I actually found some fabulous colored suede skirts at a thrift shop, so i'll be using that fabric since it's a lot more cost efficient!
Thread: make sure it matches your fabric farely well, doesn't have to be exact!
Pins & Sheers: You'll need around 7 pins per elbow, and some sheers to cut your fabric!
Paper: Regular lined paper or printing paper will do, just to trace the shape of the patches.


Step One: Trace your elbow patches. I have a cardigan with elbow patches so I just traced that sweater and cut out the oval shape. If you dont have one, I found a great printout to use! http://www.marthastewart.com/266228/suede-elbow-patch


Step Two: Pin your paper cutouts to your suede fabric and cut out the ovals
Step Three: Using piece of tape, put on your sweater and mark the best place for your elbow patches. Make sure when you bend your elbow, it will be fully covered by the suede.
Step Four: Pin your elbow patches onto the sweater and try it on to make sure it's in the right place!


Step Five: Adjust if necessary, make sure both elbows are even, and begin to sew! I found that the overcast stitch looks best, and is super simple too!

And Viola! You have a new sweater :) (minus the wrinkley-ness of mine haha). I have some tighting to do in regards to smooth edges but you guys get the gist! Comment with any questions! 

xo


Source: Martha Stewart

Sunday, September 16, 2012


Happy Sunday Readers!

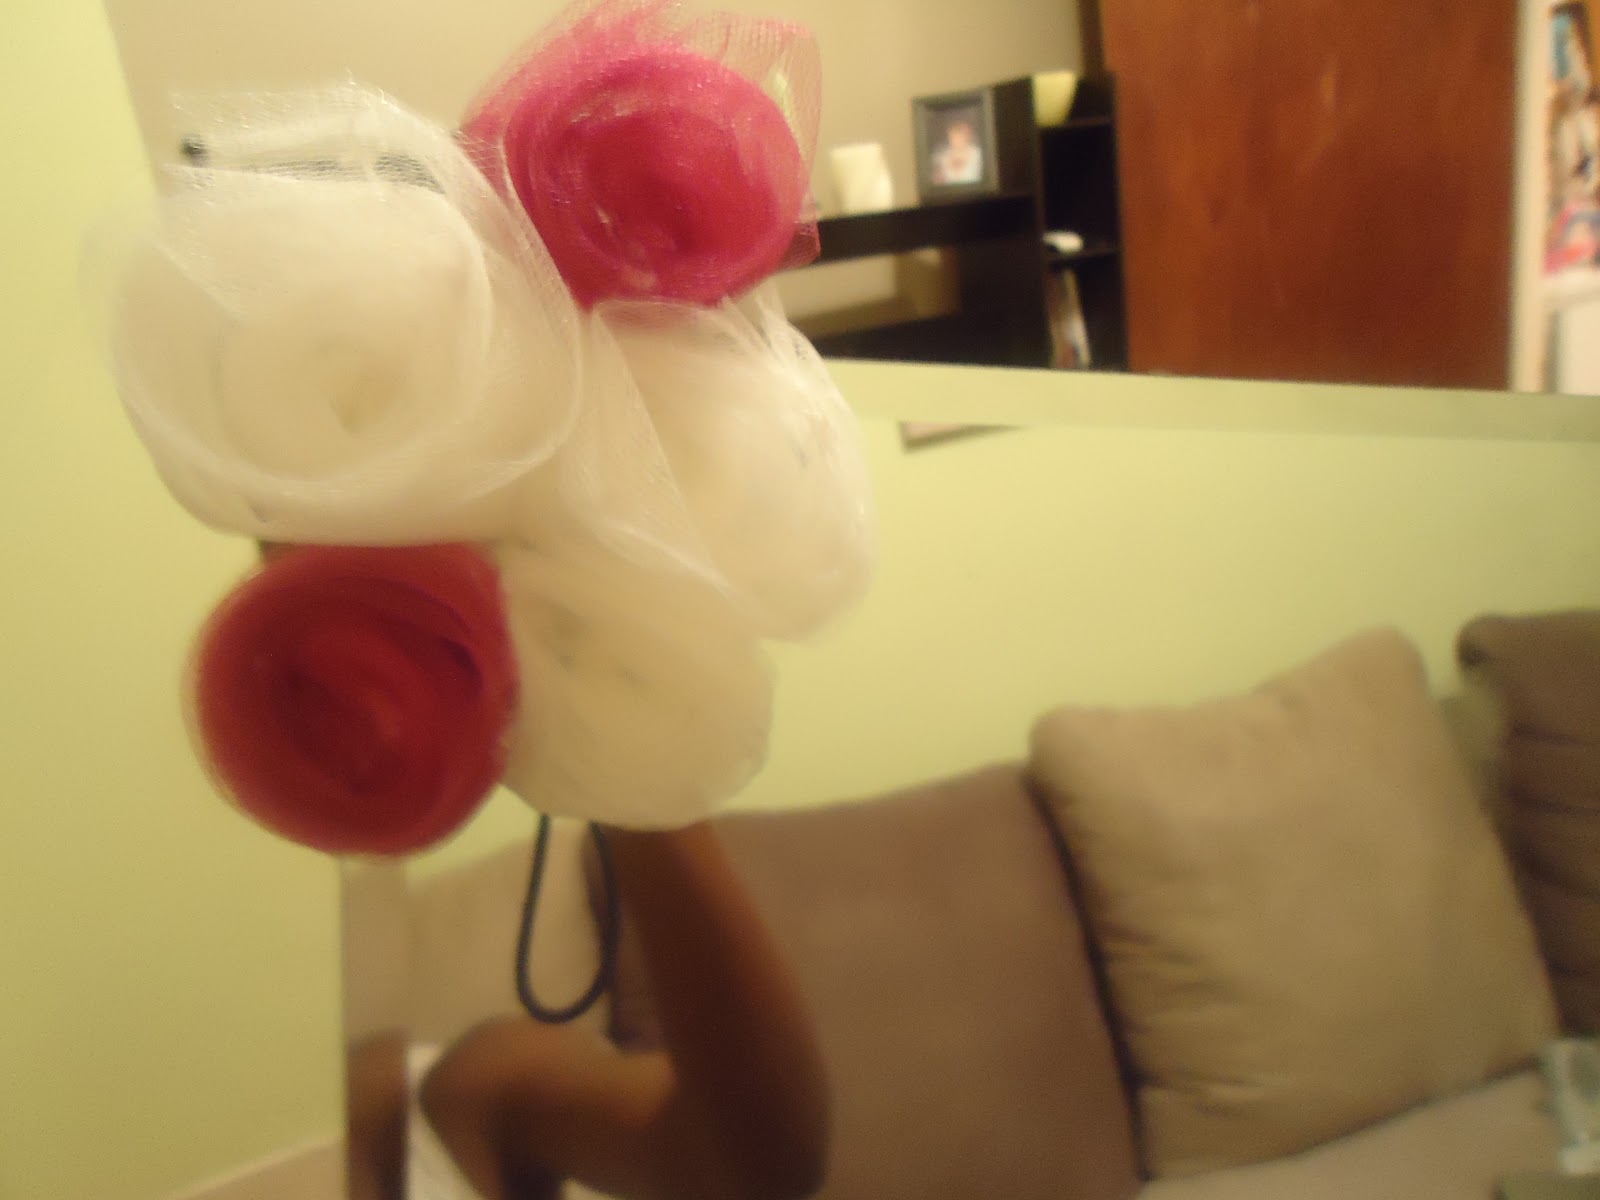
Being that tomorrow we all head back to the trenches, I figured i'd do a little something to raise our spirits! I don't know about you guys but I personally think flowers and pearls make everything better, so why not add it to the most forgotten about essential in your bedroom? Below you'll find a tutorial for a fun and easy mirror makeover. As always, enjoy & comment with questions!


Materials: 
Hot Glue gun and glue sticks
Tulle (1/2 a yard should suffice depending on how much of the mirror you plan to cover)
Pearl Favor Ties (I got mine at Michaels in the wedding department)
Mirror (with or without border)
Scissors


LtoR - Tulle Fabric Rolls ($10 - Michaels) • Miniture Glue Gun & Sticks • Scrapbook Paper Booklet ($10 - Target) • Wedding Favor Ties ($2 - Michaels) • Scissors


 Step 1: Cut tulle into strips. The size of the flowers don't necessarily depend on the length or width of the tulle, but I made mine approximately 24 Inches long (6 inches wide). Sometimes I cut the strips in half, but I wasn't fond of how thin the flowers were. Make sure your hot glue gun is warming up!

  Step 2: Gather the tulle at one end and begin to roll it into a ball in a clockwise manner. After about 3 or 4 rolls, apply hot glue (Be Careful!) to the ball and hold the tulle on it until it cools. Keep rolling, applying glue every few cycles to make sure it doesn't unravel.
 When rolling, test out different ways of twisting the tulle while you go around, it makes for different looking flowers! Roll tightly for smaller flowers, fluff out the tulle for larger ones.

 Step 3: Apply glue onto the flower once you reach the end. Make sure there's enough glue so it doesn't unravel!

 Dont worry if the flowers are a little messy, you can always apply glue afterwards to adjust them.


 Step 4: Place glue on the mirror and apply flowers! I only applied to the top left corner of my mirror but fill out the entire border if you'd like! Wrap the favor ties around the flowers in random positions for a little extra jazz!

As you can see, I didn't end up using the scrapbooking paper (I planned on cutting out letters and glueing them to the mirror but it looked too busy for my room) but test it out and it may look great!

xo

Thursday, August 16, 2012


It's been a while since I gave you guys a DIY so here's something fun and cute you can use to jazz up any room in your home!

I'm feverishly decorating my new apartment and decided that I needed some more print in my bedroom. What's more chic than polka dots?! I wanted a big contrast from the sweet & summery color scheme of the room (teal, and various shades of pink) So I went with a navy blue base and white spots. Of course this will work with any color.

These are the materials you'll need, I got all of them at Michael's Craft Store (with the exception of the Ikea MALMA Mirror), and it was all under $15! !

TIP: Before you begin, grab a garbage bag and cut it open. Put all of your materials on top and use it as your safety net. Paint is so unpredictable!


 LtoR - Grumbacher Academy Acrylic Paint in Thalo Blue ($5) • Liquitex Acrylic Color in Titanium White ($4) • Round Foam Sponge (You only need one if all of your dots will be the same color) ($2 for pack) • Foam Paint Brush (50cents) • Painters Tape • Ikea MALMA mirror ($1.50 -- yup. Less than 2 bucks!)

 Step 1: Line the interior of the mirror with painters tape, just to protect the glass from any splashes of paint. It'll help keep your mirror neat and keep the lines straight!


 Step 2: Begin painting! When using a sponge brush, it doesn't necessarily matter what direction you paint in, just be sure you do long strokes, from end-to-end for a clean look! Don't forget the sides!

 Step 3: After the first coat of base paint, let the paint dry completely. Exactly why I love Acrylic paint, because it dries very quickly! I did two coats, that's up to your discretion. After both coats were dry, I dipped my round foam brush into the contrasting paint. Make sure the layer of paint on the brush is thin and smooth or your polka dots will be too thick and not dry correctly. Now begin spotting! I freehanded, not using a stencil to calculate placement. You can easily get stencils at Michaels or simply go by eye, as I did.

TIP: When spotting, I found that rotating the sponge in a clockwise-then counterclockwise motion made sure the spots were full and completely round.


Let them dry! Peel the tape off after they are completely dry. Spray with a little Shellac for a nice gloss.


And here's the finished product! Just waiting for my printed pillows and my room is almost complete! Comment with questions!


xo


Friday, July 27, 2012


Its almost 5pm bloggers! That means start your countdown until you get to indulge in intense DIY-ing! Am I the only one who does that? Hm, well here's a fun & easy tutorial for those who've piled up tons and tons of rings/bracelets over the years.


Tools:

  • All you need is a hot glue gun, small sized bowls (i used small dip bowls from target - $4 each) and Glass pillar candlestick holders ($2 at target).
    • Turn the bowl upside down and use the hot glue gun (Be careful, it's not called a hot glue gun because it's cold!) to glue around the rim of the small end of the candle holder, attaching the candlestick holder to the bottom of the bowl.
    • Keep the bowl upside down for an hour or so, maybe placing some books on top to keep it in place while the glue dries.
    • Viola! Modern and Chic jewelry holders for under $10! :)